지난번 맛피에서 사용했던 텍스트 에디터 라이브러리인 React-quill의 만족도가 높아, 이번에도 사용하게 되었다. 지난번 상황과는 두 가지의 차이점이 있다.
- 이번 프로젝트에서는 자바스크립트를 쓴다.
- 이번 프로젝트에서는 파이어베이스를 쓴다. 고로 이미지 처리도 내가 해야 한다.
react-quill 사용법은 지난번과 크게 다르지 않다. 확실히 한 번 사용해봤다고 저번 보다는 개발 시간이 짧았던 것 같다. 기분탓인진 모르겠는데, react-quill 라이브러리는 ts 버전보다 js 버전이 조금 더 좋았다. ts 버전에서는 볼드, 이탤릭 기능이 작동하지 않았다. 적용되는 이미지 리사이징 라이브러리도 한참 찾았었고.. 시간을 꽤 잡아먹었었다. 이젠 추억이지ㅋㅋㅋㅋ
https://bbeeyaks-moment.tistory.com/entry/react-react-quill-feat-typescript
[react] 텍스트 에디터 react-quill 사용기 (feat. typescript)
우리 프로젝트에는 블로그 형식처럼 음식점에 대한 후기글을 남기는 기능이 있었기 때문에, text editor의 사용은 필수적이였다. react에 적용되면서 typescript로 사용가능하고 레퍼런스가 많은 라이
bbeeyaks-moment.tistory.com
거두절미하고, 텍스트 에디터 컴포넌트 전체 코드를 살펴보자.
import { useMemo, useRef, useState } from 'react';
import 'react-quill/dist/quill.snow.css';
import ReactQuill, { Quill } from 'react-quill';
import ImageResize from 'quill-image-resize';
import { uploadBytes, getDownloadURL, ref } from 'firebase/storage';
import { storage } from '../../firebase';

Quill.register('modules/ImageResize', ImageResize);

const TextEditor = () => {
  const quillRef = useRef();
  const [content, setContent] = useState('');

  const imageHandler = () => {
    const input = document.createElement('input');
    input.setAttribute('type', 'file');
    input.setAttribute('accept', 'image/*');
    input.click();
    input.addEventListener('change', async () => {
      const editor = quillRef.current.getEditor();
      const file = input.files[0];
      const range = editor.getSelection(true);
      try {
        const storageRef = ref(storage, `image/${Date.now()}`);
        // Firebase Method : uploadBytes, getDownloadURL
        await uploadBytes(storageRef, file).then((snapshot) => {
          getDownloadURL(snapshot.ref).then((url) => {
            // 이미지 URL 에디터에 삽입
            editor.insertEmbed(range.index, 'image', url);
            // URL 삽입 후 커서를 이미지 뒷 칸으로 이동
            editor.setSelection(range.index + 1);
          });
        });
      } catch (error) {
        console.log(error);
      }
    });
  };

  const modules = useMemo(
    () => ({
      toolbar: {
        container: [
          [{ header: [1, 2, 3, false] }],
          ['bold', 'italic', 'underline', 'strike'],
          ['blockquote'],
          [{ list: 'ordered' }, { list: 'bullet' }],
          [{ color: [] }, { background: [] }],
          [{ align: [] }, 'link', 'image']
        ],
        handlers: {
          image: imageHandler
        }
      },
      ImageResize: {
        parchment: Quill.import('parchment')
      }
    }),
    []
  );

  return (
    <div style={{ width: '80%', height: '90%' }}>
      <ReactQuill
        style={{ width: '100%', height: '100%' }}
        placeholder="질문 내용을 입력해주세요."
        theme="snow"
        ref={quillRef}
        value={content}
        onChange={setContent}
        modules={modules}
      />
    </div>
  );
};

export default TextEditor;
이번에도 이미지 리사이징을 위해 추가적으로 라이브러리를 설치하여 적용해주었다.
npm install quill-image-resize설치 후 위의 코드처럼 modules에 넣어주면 된다.
이미지 처리하는 과정도 간단히 살펴보자.
이미지를 올리면 파이어베이스 스토리지에 저장된 후 url을 반환받는 과정이 필요하기 때문에 프로젝트와 스토리지를 연결해준다.
Storage의 업로드 및 읽기 권한 설정을 위해 firebase-tools를 설치하고 로그인 및 초기 설정을 진행한다.
npm i firebase-tools
firebase login
firebase init
    -> Storage: Configure a security rules fileㅤfor Cloud Storage
    -> Use an existing project
    -> 내 프로젝트 선택
세 단계를 순서대로 입력해준 후 다음과 같이 설정해주었다. 설정을 마쳤으면 프로젝트에 생성된 storage.rules 파일을 다음과 같이 수정한다. 수정 후 firebase deploy --only storage 명령어를 통해 이를 적용하면 권한이 부여된다.
rules_version = '2';
service firebase.storage {
  match /b/{bucket}/o {
    match /{allPaths=**} {
      allow read, write: if true;
    }
  }
}
이제 이미지 핸들러를 작성하여 적용시켜주면 된다.
이미지는 Firebase Storage의 image 폴더에 저장되고, getDownloadURL 메서드를 통해 받은 이미지 URL을 에디터에 삽입하는 방식으로 처리된다.

const imageHandler = () => {
const input = document.createElement('input');
input.setAttribute('type', 'file');
input.setAttribute('accept', 'image/*');
input.click();
input.addEventListener('change', async () => {
const editor = quillRef.current.getEditor();
const file = input.files[0];
const range = editor.getSelection(true);
try {
const storageRef = ref(storage, `image/${Date.now()}`);
await uploadBytes(storageRef, file).then((snapshot) => {
getDownloadURL(snapshot.ref).then((url) => {
editor.insertEmbed(range.index, 'image', url);
editor.setSelection(range.index + 1);
});
});
} catch (error) {
console.log(error);
}
});
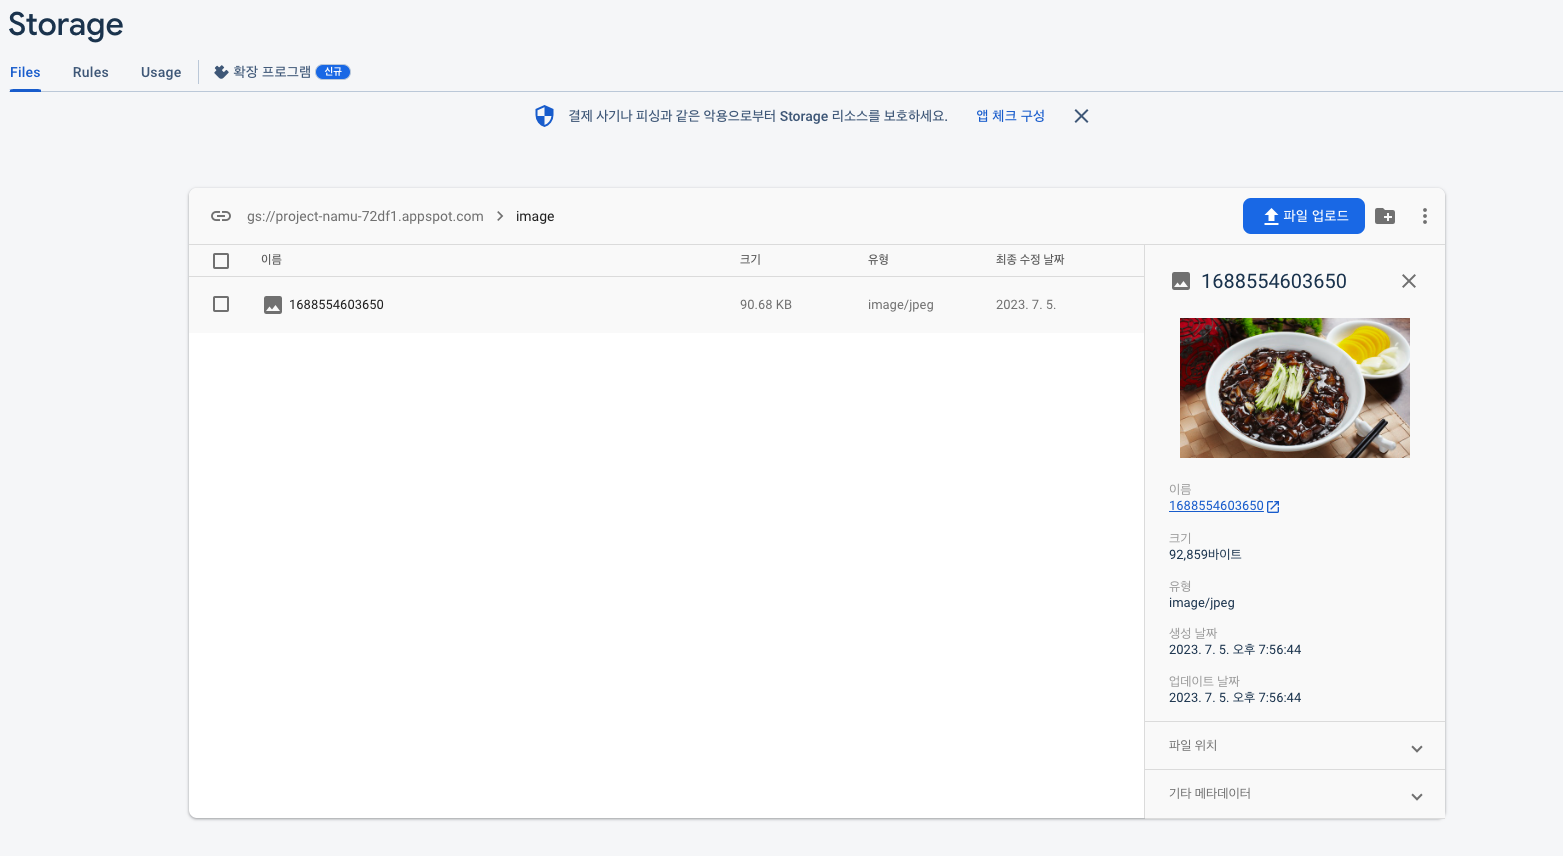
};모든 과정을 마친 후 스토리지를 확인해보면 다음과 같이 게시글 작성할 때 추가한 이미지가 잘 저장되어 있는 것을 볼 수 있다.
참고한 블로그)
[React] React-Quill에서 Image Resize 사용하기
React-Quill에서 이미지 크기 조정을 위한 Image Resize 모듈 사용하기
velog.io
https://yhuj79.github.io/React/230214/
React-Quill Editor 이미지 처리하기 (Firebase Storage)
React-Quill은 간편하게 사용할 수 있는 Rich Text Editor이다. 하이퍼링크, 글꼴, 색상, 스타일, 이미지 등의 양식을 쉽게 구성할 수 있다. React-Quill 구성하기 React App에 react-quill을 설치한다. App.js에 다음
yhuj79.github.io
'프로젝트 > 나무(나누고 나눔받는 무한 지식 품앗이)' 카테고리의 다른 글
| [React&Firestore] 캐러셀 컴포넌트 데이터 가져오기 (1) | 2023.07.13 |
|---|---|
| [react-query] 리액트 쿼리 개념 및 사용법 간단하게 정리하기(feat. firestore) (0) | 2023.07.06 |
| [Error] Cannot destructure property 'basename' of 'react__WEBPACK_IMPORTED_MODULE_0__.useContext(...)' as it is null. (0) | 2023.07.04 |
| [Error] should be listed in the project's dependencies (0) | 2023.06.30 |
| [React] 리액트 캐러셀 라이브러리 react-slick 사용 해보기 (0) | 2023.06.30 |
